Thursday, April 30, 2009

Barefoot Blogging: Barefoot on a Budget

So we had a bonus Barefoot Bloggers challenge this month..... and it's Barefoot on a Budget. Basically you have to take one of Ina's recipes that have some pricey ingredients and find a way to make it cheaper. This month's challenge was for Ina's Lobster Cobb Rolls. And I've seen her make this before and my mouth was watering. Watching her chop 2 pounds of freshly cooked lobster was torturing. And then she began adding more of my favorite things in life... avocados, bacon, bleu cheese. This recipe is RIGHT up my alley.

So the other day when I posted my Shrimp Tempura a few posts back, I mentioned that I had 5 lbs of Jumbo Shrimp (isn't that an oxymoron, haha). I had another pound left over to mess around with. I've seen Ina make some Roasted Shrimp for salads and dishes and I've always wanted to try it. I figured it'd be fantastic in this simple salad!

The shrimp was so simple and easy.... season well with salt, pepper, and a bit of garlic pepper. Toss with olive oil and roast in a 400 degree oven for 7 minutes. The shrimp came out perfectly cooked and delicious! So then I chopped them into bite sized pieces and added a few strips of crumbled bacon, 1 chopped avocado, 1 small diced tomato (from my own tomato plant!), and a few shavings of parmesean. I tossed it all in Ina's dijon vinegarette and put it on a plate.

It was so hard taking these photos because I wanted to eat it so badly! :)


Monday, April 27, 2009

I was a busy girl....

So there's a bake sale for Relay for Life coming up at work, and since people know that I'm a baker they volun-TOLD me that I'd be baking goodies for it.

I've brought in Bakerella's Red Velvet Cake Balls before to rave reviews at work.... I figured they'd be a huge hit at this bake sale. So I decided to make them extra cute and try my hand at Bakerella's Cupcake Bites. In Relay for Life colors.

How can you resist the cute!? It's a mini cupcake!


Here's a platter full of them!

And then I took some more of the cake balls and just did them my regular way... dip and drizzle!


I'll keep you updated on how much we make from this great bake sale! I'll post pictures of all of the baked goods :)

Wednesday, April 22, 2009

Barefoot Blogging: Croque Monsieur

WARNING! Extreme cheese overload is ahead!

Just kidding, y'all. Our second Barefoot Blogging Recipe this month would be Croque Monsieurs, chosen by Kathy of All Food Considered. For those that have no idea what it is, then think of it as a grilled ham and cheese sandwich. On crack. It's pronounced "Croak Mon-suer" The literal translation of Croque Monsieur from French to English is "Crunchy Mister". For some this reason, it gives me the giggles thinking of some crunchy french man.

Let's begin making this Crunchy Mister, shall we?


Ingredients

  • 3 tablespoons all-purpose flour
  • 2 tablespoons unsalted butter
  • 2 cups hot milk
  • 1 teaspoon kosher salt
  • 1/2 teaspoon freshly ground black pepper
  • Pinch nutmeg
  • 12 ounces Gruyere, grated (5 cups)
  • 1/2 cup freshly grated Parmesan
  • 16 slices white sandwich bread, crusts removed
  • Dijon mustard
  • 8 ounces baked Virginia ham, sliced but not paper thin


Turn your oven on to 400 degrees.

Go ahead and stick your cheese in the freezer before you grate it. It makes things MUCH easier when it comes to grating. The Gruyere has a tendency to get soft as it comes to room temperature.

Now we're going to make a sinfully delicious cheese sauce.

Melt your butter in a small saucepan.

Using a spoon, mix in the 3 TBS of flour and cook for 2 minutes to get rid of that flour taste.


Slowly add your 2 cups of hot milk, whisking to avoid lumpy sauce. Whisk and whisk until the sauce has thickened.


Take your sauce off the heat and add your salt, pepper, nutmeg, all of the Parmsean cheese, and 1/2 cup of the shredded Gruyere. Mix until combined. Set aside and we shall begin assembly.


Take your crust-less slices of bread and lay them out on a baking sheet, baking them for 5 minutes, turn them over, and bake for another 2 minutes. They should be toasted when they come out.

Lightly spread the dijon mustard on all of the toasted bread. Add a slice of ham to 8 of the slices.Sprinkle 1/2 of the remaining Gruyere cheese over the ham slices. Oh yeah. This will be good.


Top the ham and cheese with another piece of toasted bread.

Slather each of the tops with the sinful cheese sauce.


Top with the remaining shredded cheese.


Bake these sandwiches for 5 minutes, then turn on the broiler and cook for an additional 3-5 minutes, until the cheese is bubbly and light brown.


I served these with sliced green apples, because I love that tart crunch with the salty cheese, it's perfection.


If you need the printable recipe, then please click here! :)

Monday, April 20, 2009

Not so lazy Sundays....

So yesterday I got to head out to the Kingsley Plantation for a photoshoot with a co-worker, and while I was out and about on that side of town, I remembered a GREAT seafood shop with cheap prices and the freshest seafood out there. So I ended up picking up 5 pounds of this huge Mayport Shrimp for only $25. Knowing my family loves fried shrimp, I picked up some tempura batter and some tempura mix on the way home.

Then I had the brilliant idea to slice some hearty garlic pickles and dip them in the tempura batter. Fried pickles are one of my new favorite things in life.

Nothing too fancy with my pictures this time, I was eating my food too fast to plate it, haha!


And my "outdoor office" for the day.... I was excited to find out that my wireless works out on our back patio! So I took advantage of the fantastic weather and set up shop outside!


Wednesday, April 15, 2009

Beatty's Chocolate Cake


If I didn't have to put this in a baking contest this afternoon, I'd already be eating my 4th slice of this cake. That intoxicating smell of chocolate cake baking, along with a little taste of homemade chocolate buttercream icing has my tastebuds ready to go. Look how pretty it looks! I know it's not perfect, but hey it's supposed to be homemade, not professional!
It's got a little coffee in the batter as well as in the frosting, and it's just enough to enhance that chocolate flavor and send it over the edge. When making it, it's going to look like a REALLY wet batter, but trust me on this it'll be okay. I actually baked it in 3 pans so I can have some great looking layers when it's cut!
If you're looking for the recipe, then please click here! It's pretty easy to do, I promise!
I'll keep you updated if I actually win this contest or not!

Tuesday, April 14, 2009

Exciting things!


I'm back from a wonderfully fun Birthday trip to Disney, where I got to let myself be fun and fancy free. Now I'm back in the real world, but with a new fun toy I got for my birthday.... my parents lovingly got me a new MacBook! This is my first expedition into the Mac world and I'm super excited to start really using it!


And I'm baking my favorite chocolate cake recipe tomorrow for a contest at work... Beatty's Chocolate Cake from Ina Garten. This is some seriously delicious eats. I'm tempted to make two so I can have one at home and bring one to work!

So stay tuned for pictures!

In the mean time, please enjoy this picture I found and instantly fell in love with.


Monday, April 6, 2009

Barefoot Blogging: Chinese Chicken Salad

I'm posting this early because I'll be out of town through next Sunday... I'm going to Disney World for my Birthday! Yay!


Our first recipe for April is Ina's Chinese Chicken Salad chosen by Kenzie of McKenzie's Kitchen. I am shocked to say that I haven't actually seen Ina make this yet, I guess I haven't caught that episode yet. But this recipe is utilizing some spring veggies and you can totally make this your own by adding what veggies you'd like or what you have on hand.

All I'm saying is that you NEED to make this and bring it to a party this spring or summer. It's a wonderful variation of the usual chicken salad made with Mayo. You can actually bring this to a picnic and no one will get sick if it's outside!
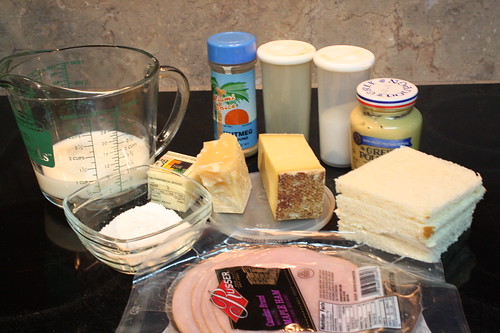
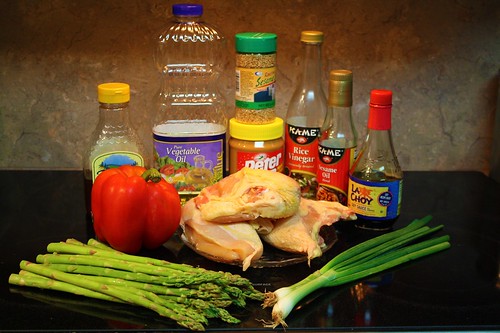
Ingredients

4 split chicken breasts (bone-in, skin-on)
Good olive oil
Kosher salt
Freshly ground black pepper
1/2 pound asparagus, ends removed, and cut in thirds diagonally
1 red bell pepper, cored and seeded
2 scallions (white and green parts), sliced diagonally
1 tablespoon white sesame seeds, toasted

For the dressing:
1/2 cup vegetable oil
1/4 cup good apple cider vinegar
3 tablespoons soy sauce
1 1/2 tablespoons dark sesame oil
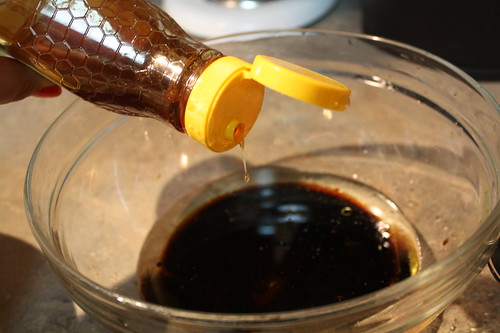
1/2 tablespoon honey
1 clove garlic, minced
1/2 teaspoon peeled, grated fresh ginger
1/2 tablespoon sesame seeds, toasted
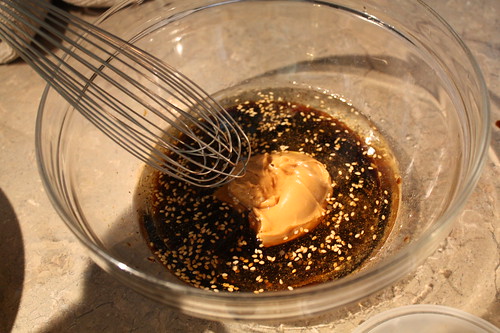
1/4 cup smooth peanut butter
2 teaspoons kosher salt
1/2 teaspoon freshly ground black pepper


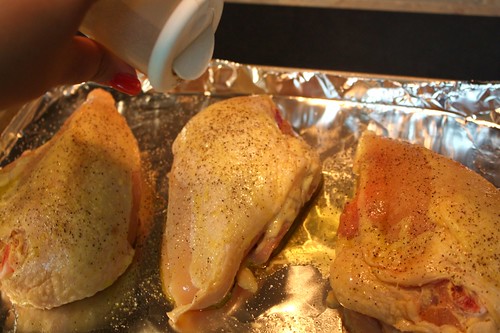
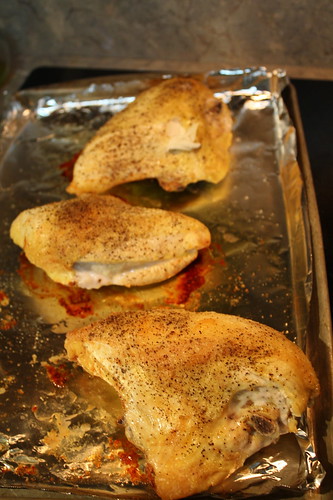
Preheat your oven to 350 while you season the chicken breasts. Rub the outside skin liberally with olive oil, and season very well with salt and pepper. Remember you'll be removing the skin after it cooks so you want as much flavor as possible to get into the breast meat. Cook these for 30-40 minutes until the flesh is no longer pink.


While the chicken is cooking, you'll want to prep your veggies and make the dressing. Let's start with the Red Pepper. Slice it in half and rip out the core and seeds.


Slice these into thin strips, and then slice the strips in half. I'm not a fan of huge chunks of red pepper.

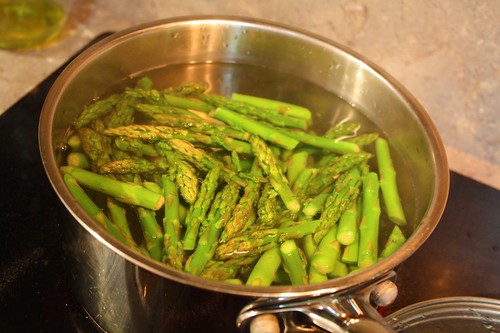
The asparagus is a little trickier. You'll need to slice them into 3rd. Check out the red lines.


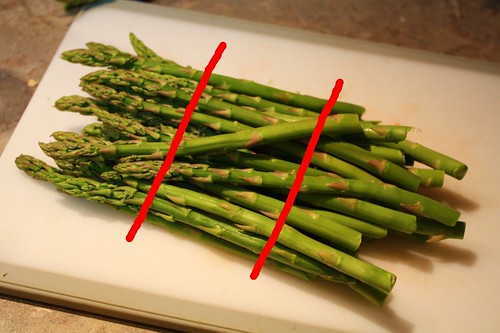
Then we're going to put them in boiling well-salted water for 3-4 minutes. They should still have a little bite to them.

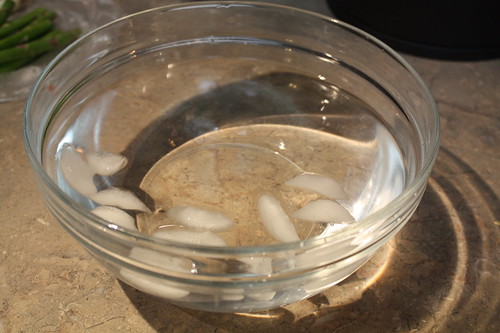
After they are fulled blanched, then shock them in an ice water bath. This helps stop the cooking process and lets the asparagus keep it's lovely green color.

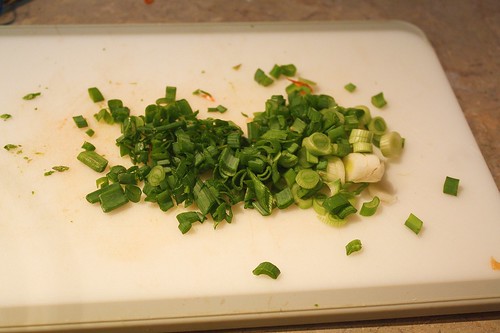
Then we're going to slice some green onions. Ina says to cut them in thirds like the asparagus, but I say nay to that. I only like cooked green onions that big. So I did it in small chopped bits.


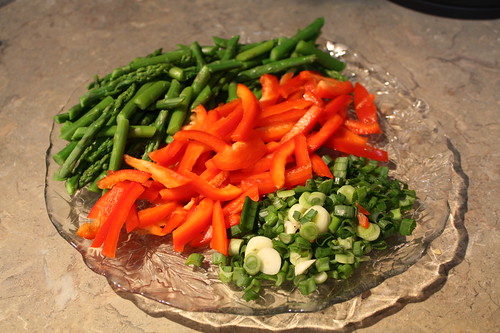
And here we've got all of our sliced veggies ready to go!


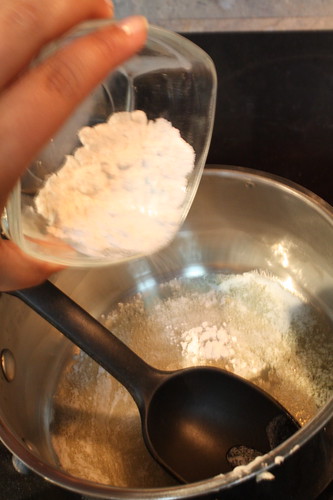
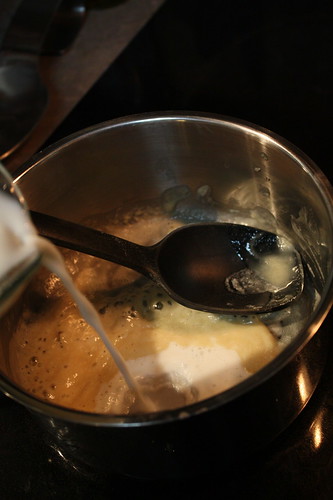
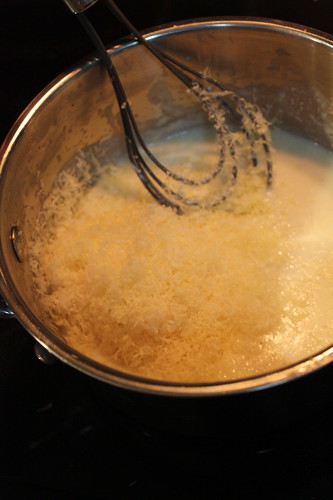
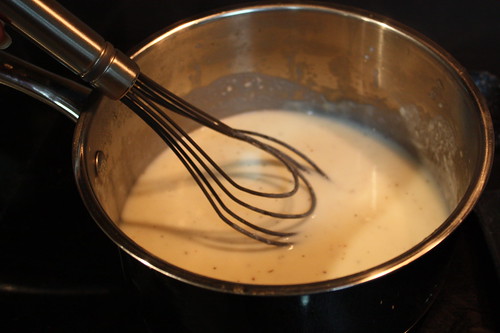
Next up.... the sauce. It's pretty simple. Just add all of the ingredients and whisk until combined!


What's that smell? Oh yes... the roasted chicken. This is my first time trying Ina's method of chicken. Otherwise I'd stick the boneless, skinless breasts in the oven and do it that way. Well let's see how they turned out...


WELL NOW! That looks pretty great!!! Once it's cool enough to handle, peel the skin off and strip off the breast meat with a fork. You should have nice big edible chunks.


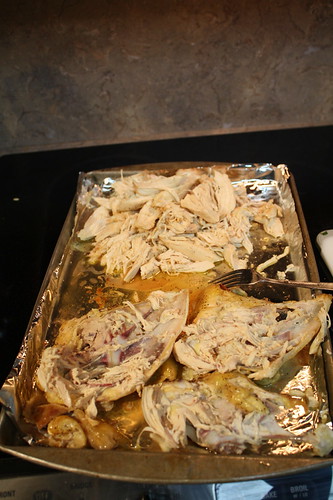
I was naughty and mixed the chicken pieces in with those juices on the sheet pan. Hey, Ina's all about the extra flavor!

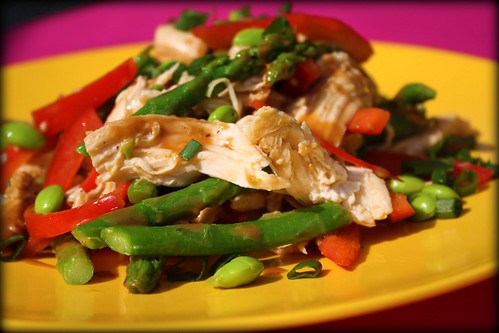
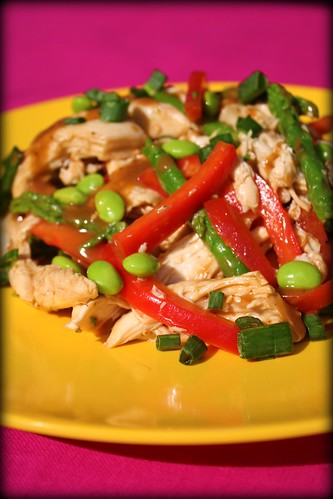
So now all you need to do is grab a big bowl and mix all parts of your salad together. Chicken, veggies, dressing. I only added half of the dressing at first. And it turned out great. Once mixed, top with sesame seeds (and I added edamame!)


And as always, if you'd like a printable copy of this recipe, then please click here!