Showing posts with label Ina Garten. Show all posts

Sunday, March 20, 2011

Easy Salad Niçoise


IMG_4448

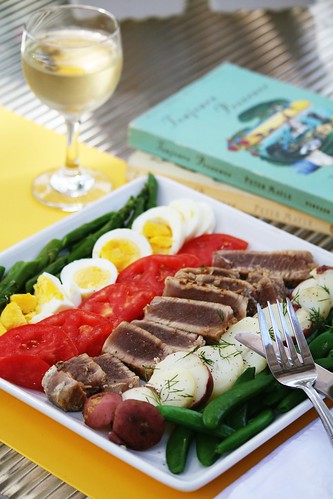
Feeling inspired by a recent Barefoot Contessa episode and my recent haul from the Riverside Arts Market, I decided to throw together a Salad Niçoise for lunch.

A traditional salad niçoise features canned tuna, olives, and french haricot verts to what I've shown here. I had some fresh sugar snap peas and asparagus from the market, so I used that in place of the haricot verts. I made Ina Garten's Mustard Vinigarette to pour over the top of this.

All of the green vegetables were blanched, the potatoes and eggs were boiled, the tuna was seared (1-2 minutes on each side in a lightly greased pan).

I love how pretty this looks arranged on the plate and this would also be a great dish to serve at a party, like a wedding shower. It's fresh, beautiful, and best of all... delicious!

Sunday, May 24, 2009

Barefoot Blogging: Lemon Cake

One of the bonus recipes for this month's Barefoot Bloggers challenge was Lemon Cake chosen by McKenzie of Kenzie’s Kitchen! I ended up making this, and since it made two loaves I kept one at home and left one at the house. It was gone within a day!

The cake was like a cross between a pound cake and a regular cake. Not heavy, but not light and fluffy. The lemon sugar glaze added just the right bit of tarty sweetness on top. This is a great one for summer picnics!

Wednesday, May 20, 2009

Barefoot Blogging: Seared Tuna Salad


Before you don't read this post because you think it's going to be about a regular ol' Tuna Salad, stay with me. Trust me, you'll need to check it out.

This is anything BUT a tuna salad you've ever had in your life. This is not a soggy pile of canned Bumblebee tuna with chopped celery that never fails to overpower it. This is a combination of flavors that does nothing but leave you wanting more after you've had your last bite.

Here's the printable recipe so you can follow along

Here's the ingredients you'll need..... it may look like a lot, but the sauce uses it all.


First up... the tuna. I'm a big fan of fresh tuna, not canned. It may be more expensive but trust me when I say that it's worth it. Seared tuna is like a great steak. It should be rare, and if you overcook it then it's awful.

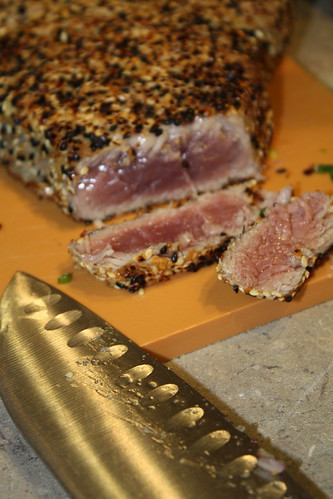
Let's take a look at this steak and you'll see why you need to make sure you don't overcook it.


Please don't cook this well done. If you even think about it, I'll come and find you and may slap you.

You can sear your tuna as is, but I enjoying taking it to the next level and I like to crust it. It adds an extra crunch and fantastic flavor. I found this wonderful toasted sesame ginger crust at Whole Foods and I'll be using that. I just patted it down all over the tuna, like this


Go to your stove and get a sautee pan searing hot. And I mean HOT. Drizzle in a few tsp of olive oil so your tuna steak won't stick to it.

Add your tuna steak to your amazingly hot pan and cook for ONE MINUTE on each side. I also like to flip it on the sides and cook for about 20 seconds on each side. Take it off the stove and let it set.

While that's resting, let's turn to the dressing and veggies.

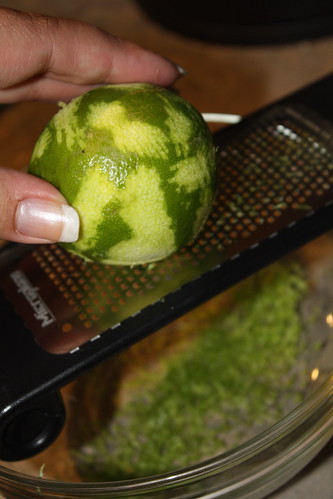
We're going to need the zest of a lime. Grab your handy microplane and get to work.


After you're done zesting, we need the juice of it!

*** for those following the recipe, I'm making a different dressing than what's listed!***

Add in 2 TBS of olive oil, 1 TBS of soy sauce, 5 dashes of Tabasco, 1/2 tsp of toasted Sesame oil, 1 tsp of salt and pepper. I found that to balance the tartness of the lime, that a little squeeze of honey balanced it out perfectly.

Whisk this until it is all combined.


I also wanted to kick up the flavor, so I was a naughty girl and added a few drops of Sriacha for an extra bite. Where would I be without Sriacha in my life?


Next up, slice up an avocado and cut it into chunks. Take 1 stalk of scallions and slice it very thin. Then take 1/4 of a red onion and chop it into very fine pieces. Toss this all in the dressing you've made.

Turning back to the tuna. I've cut a few slices just to present it, but then I chopped the rest into cubes.


Ah, yes. Perfection. This is my kind of Tuna Salad. For those that like sushi, it reminds me of a sushi roll minus the rice!


Thursday, April 30, 2009

Barefoot Blogging: Barefoot on a Budget

So we had a bonus Barefoot Bloggers challenge this month..... and it's Barefoot on a Budget. Basically you have to take one of Ina's recipes that have some pricey ingredients and find a way to make it cheaper. This month's challenge was for Ina's Lobster Cobb Rolls. And I've seen her make this before and my mouth was watering. Watching her chop 2 pounds of freshly cooked lobster was torturing. And then she began adding more of my favorite things in life... avocados, bacon, bleu cheese. This recipe is RIGHT up my alley.

So the other day when I posted my Shrimp Tempura a few posts back, I mentioned that I had 5 lbs of Jumbo Shrimp (isn't that an oxymoron, haha). I had another pound left over to mess around with. I've seen Ina make some Roasted Shrimp for salads and dishes and I've always wanted to try it. I figured it'd be fantastic in this simple salad!

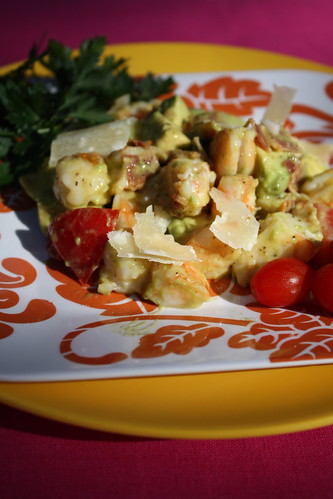
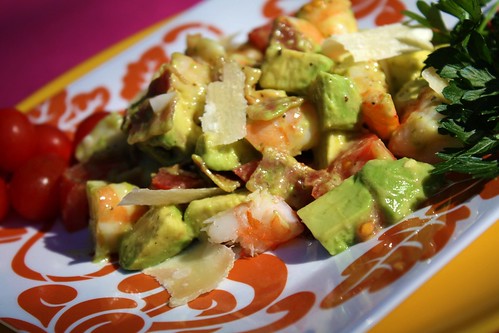
The shrimp was so simple and easy.... season well with salt, pepper, and a bit of garlic pepper. Toss with olive oil and roast in a 400 degree oven for 7 minutes. The shrimp came out perfectly cooked and delicious! So then I chopped them into bite sized pieces and added a few strips of crumbled bacon, 1 chopped avocado, 1 small diced tomato (from my own tomato plant!), and a few shavings of parmesean. I tossed it all in Ina's dijon vinegarette and put it on a plate.

It was so hard taking these photos because I wanted to eat it so badly! :)


Wednesday, April 22, 2009

Barefoot Blogging: Croque Monsieur

WARNING! Extreme cheese overload is ahead!

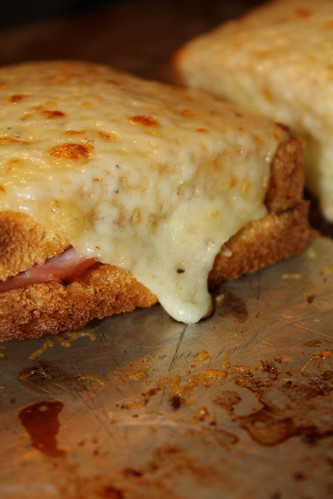
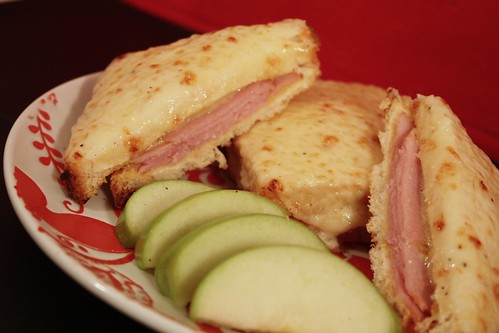
Just kidding, y'all. Our second Barefoot Blogging Recipe this month would be Croque Monsieurs, chosen by Kathy of All Food Considered. For those that have no idea what it is, then think of it as a grilled ham and cheese sandwich. On crack. It's pronounced "Croak Mon-suer" The literal translation of Croque Monsieur from French to English is "Crunchy Mister". For some this reason, it gives me the giggles thinking of some crunchy french man.

Let's begin making this Crunchy Mister, shall we?


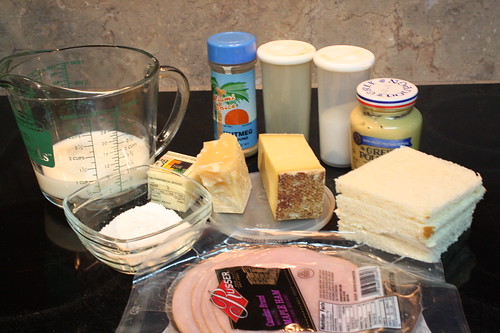
Ingredients

  • 3 tablespoons all-purpose flour
  • 2 tablespoons unsalted butter
  • 2 cups hot milk
  • 1 teaspoon kosher salt
  • 1/2 teaspoon freshly ground black pepper
  • Pinch nutmeg
  • 12 ounces Gruyere, grated (5 cups)
  • 1/2 cup freshly grated Parmesan
  • 16 slices white sandwich bread, crusts removed
  • Dijon mustard
  • 8 ounces baked Virginia ham, sliced but not paper thin


Turn your oven on to 400 degrees.

Go ahead and stick your cheese in the freezer before you grate it. It makes things MUCH easier when it comes to grating. The Gruyere has a tendency to get soft as it comes to room temperature.

Now we're going to make a sinfully delicious cheese sauce.

Melt your butter in a small saucepan.

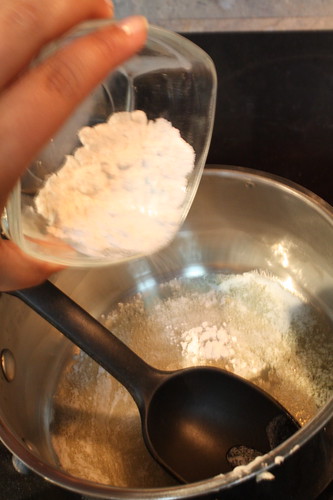
Using a spoon, mix in the 3 TBS of flour and cook for 2 minutes to get rid of that flour taste.


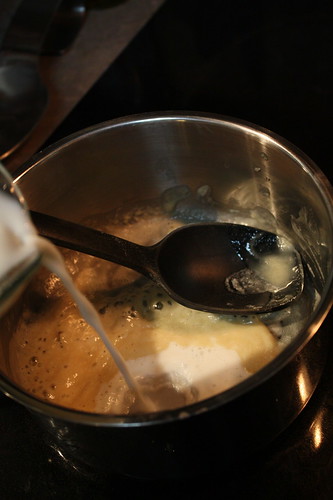
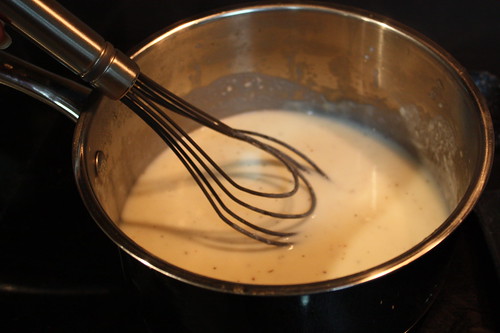
Slowly add your 2 cups of hot milk, whisking to avoid lumpy sauce. Whisk and whisk until the sauce has thickened.


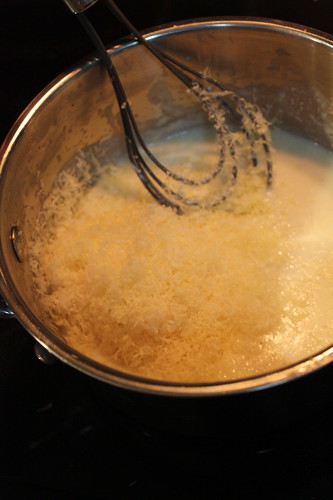
Take your sauce off the heat and add your salt, pepper, nutmeg, all of the Parmsean cheese, and 1/2 cup of the shredded Gruyere. Mix until combined. Set aside and we shall begin assembly.


Take your crust-less slices of bread and lay them out on a baking sheet, baking them for 5 minutes, turn them over, and bake for another 2 minutes. They should be toasted when they come out.

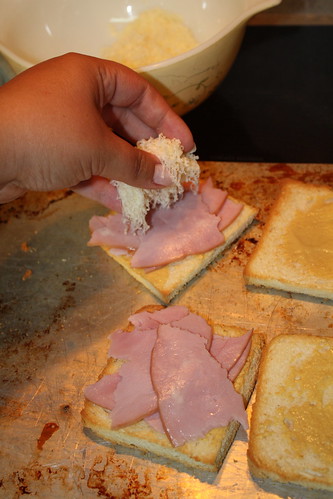
Lightly spread the dijon mustard on all of the toasted bread. Add a slice of ham to 8 of the slices.Sprinkle 1/2 of the remaining Gruyere cheese over the ham slices. Oh yeah. This will be good.


Top the ham and cheese with another piece of toasted bread.

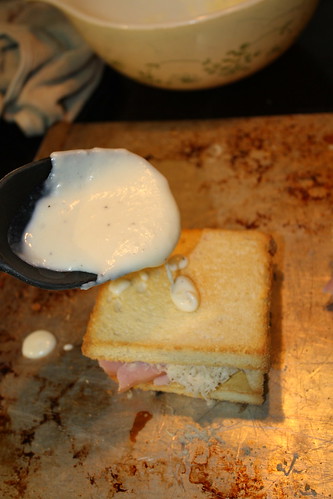
Slather each of the tops with the sinful cheese sauce.


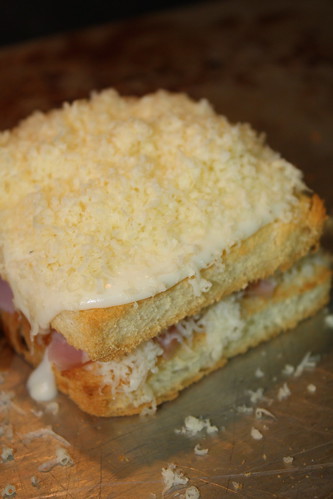
Top with the remaining shredded cheese.


Bake these sandwiches for 5 minutes, then turn on the broiler and cook for an additional 3-5 minutes, until the cheese is bubbly and light brown.


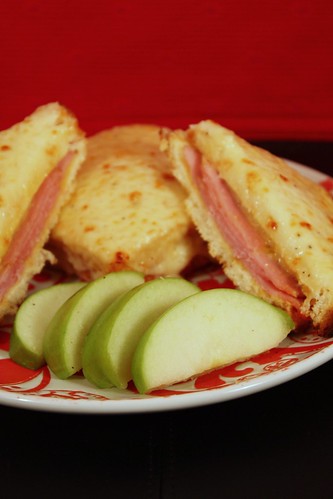
I served these with sliced green apples, because I love that tart crunch with the salty cheese, it's perfection.


If you need the printable recipe, then please click here! :)

Wednesday, April 15, 2009

Beatty's Chocolate Cake


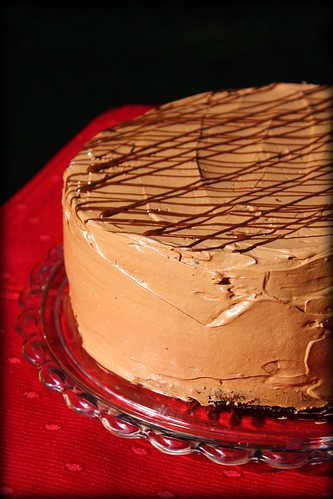
If I didn't have to put this in a baking contest this afternoon, I'd already be eating my 4th slice of this cake. That intoxicating smell of chocolate cake baking, along with a little taste of homemade chocolate buttercream icing has my tastebuds ready to go. Look how pretty it looks! I know it's not perfect, but hey it's supposed to be homemade, not professional!
It's got a little coffee in the batter as well as in the frosting, and it's just enough to enhance that chocolate flavor and send it over the edge. When making it, it's going to look like a REALLY wet batter, but trust me on this it'll be okay. I actually baked it in 3 pans so I can have some great looking layers when it's cut!
If you're looking for the recipe, then please click here! It's pretty easy to do, I promise!
I'll keep you updated if I actually win this contest or not!

Thursday, March 26, 2009

Barefoot Blogging: Tomato and Goat Cheese Tarts

Anne of Anne Strawberry chose Tomato and Goat Cheese tarts for our last March recipe. Excellent choice if I do say so myself!

Okay. I'm going to admit something. I'm not a huge Goat Cheese fan. I can take it in small doses, but just eating slices with crackers? Forget it. I'd rather have a big hunk of Feta or Bleu cheese any day.

Trying the herbed goat cheese with this recipe made me actually enjoy it more, savoring it with the caramelized onions and the juicy tomatoes. This was a pretty easy recipe to make and the results look simply fantastic! These would be great for a bunch or for a wedding shower party. Ready for instructions... here we go!

Ingredients

  • 1 package (17.3 ounces/2 sheets) puff pastry, defrosted

  • Good olive oil

  • 4 cups thinly sliced yellow onions (2 large onions)

  • 3 large garlic cloves, cut into thin slivers

  • Kosher salt and freshly ground black pepper

  • 3 tablespoons dry white wine

  • 2 teaspoons minced fresh thyme leaves

  • 4 tablespoons freshly grated Parmesan, plus 2 ounces shaved with a vegetable peeler

  • 4 ounces garlic-and-herb goat cheese (recommended: Montrachet)

  • 1 large tomato, cut into 4 (1/4-inch-thick) slices

  • 3 tablespoons julienned basil leaves

Crap. I forgot to put the goat cheese in the family photo. Please forgive me.

Go ahead and preheat your oven to 425 degrees.

First you're going to want to take your defrosted Puff Pastry and roll it out to 11 inches by 11 inches.
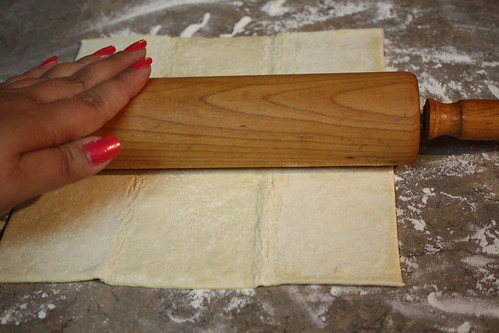


You're going to cut two 6 inch circles from this piece of pastry. Please don't mind my ghetto pastry cutter... this is the only thing in my kitchen that's 6 inches in diameter, haha.


Once you've cut them out, place them on a sheet of parchment paper on a sheet pan. Only put two pastry circles per sheet pan. Throw them in the fridge until it's time to work with them later.

Now... on to the really good stuff.

Take your two onions and remove the skins. Slice in half by slicing through the root. We want nice thin slivers. So cut the onions into slivers like this. You're going to do the same thing with your three cloves of Garlic!


Next up, put 3 Tablespoons of Olive Oil in your sautee pan and then throw in your thinly sliced onions and garlic.
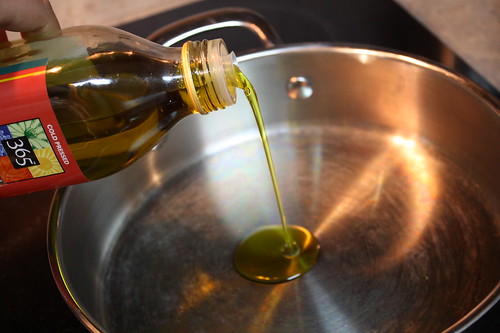
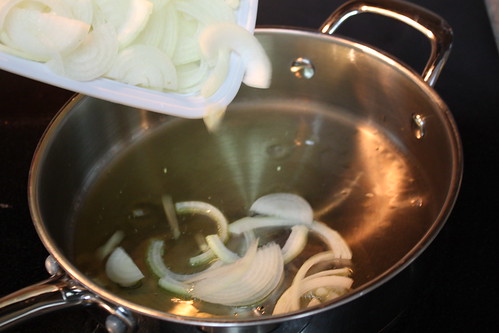


Sautee this mixture for about 15-20 minutes until your onions are limp and there is no moisture left in the pan. After this, you're going to add the 1/4 tsp of Pepper, 1/2 teaspoon of Salt, the 3 Tablespoons of White Wine, and the 2 tablespoons of Thyme. Like this... ( can you already see how delicious those onions look?!)

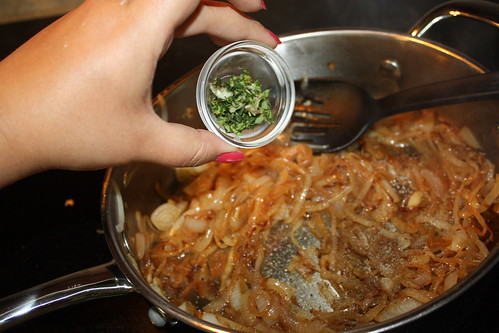


Cook this mixture for another 10 minutes and then remove from heat.

At this point, go to the fridge and grab your pastry circles.... Using a paring knife, score a 1/4 inch border around each of the pastry circles.
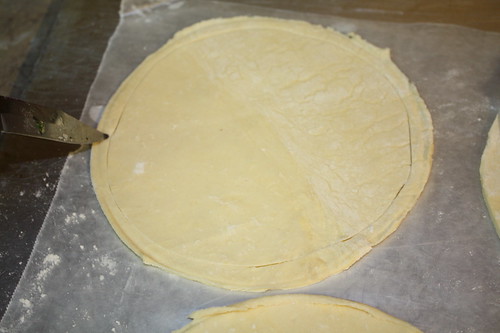

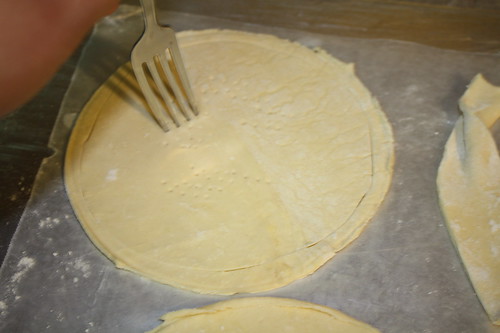
Then take a fork and prick the pastry that's inside of that scored line.

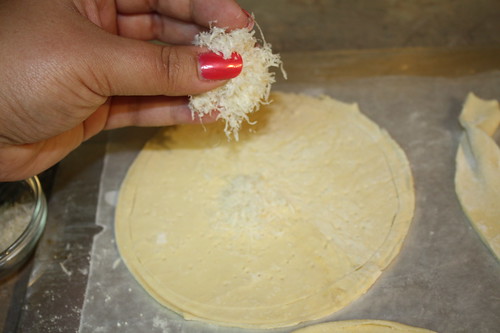
Take 1 tablespoon of your grated parmesean cheese and lovingly sprinkle it on each pastry round, staying inside of the scored line.

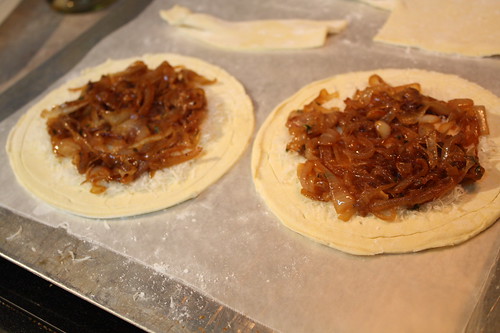
Take 1/4 of your caramelized onion mixture and spread it out on top of that parmesean cheese
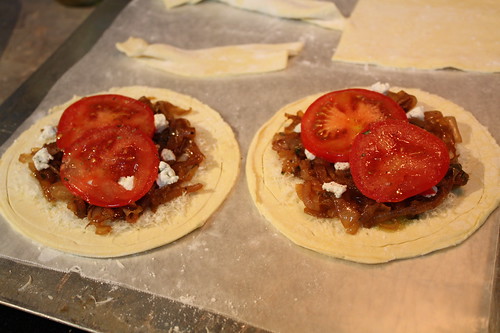
Crumble an ounce of your goat cheese on top of the onions...

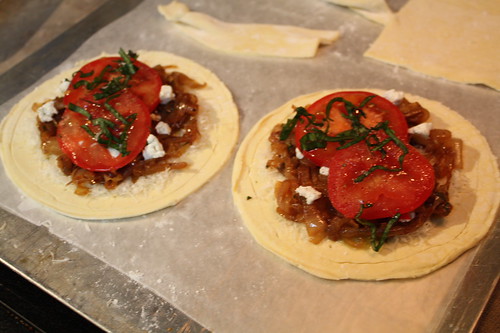
Place a slice or two of tomato on the center of each tart and brush with a little bit of olive oil. Then sprinkle with salt and pepper and sliced basil.


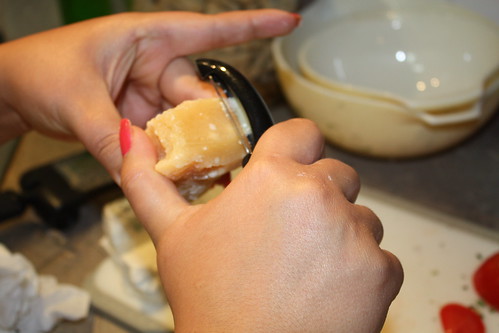
Take your block of parmesean cheese and make 4 or 5 shavings per tart. I use my veggie peeler to make the shavings


Oh man. This looks like a pizza. A delicious tasting pizza. My mouth is watering already and it's not even in the oven yet!!!

Since I don't want to eat uncooked pastry dough, I unwillingly put these in the oven for 20 to 25 miutes, until the pastry is golden brown. And look what came out..... OH MY HEAVENS.
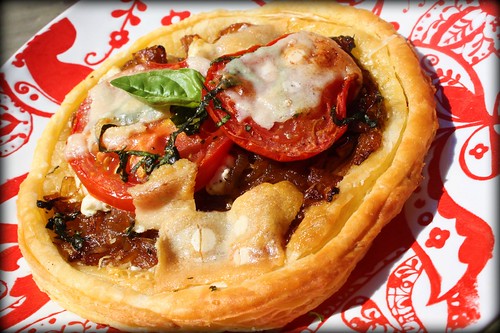
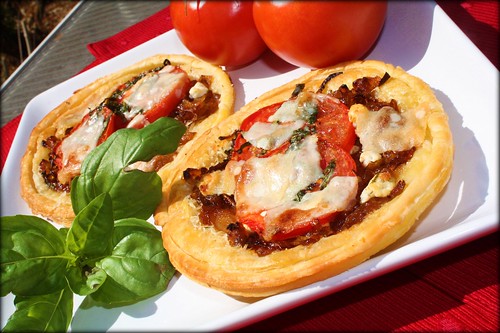


I hope you'll try these for a party.... they are seriously delicious. And if you're not a goat cheese fan, I bet thin slices of mozzarella or crumbled feta would be just as yum on this!

If you're looking for a printable version, just click here!


Saturday, March 21, 2009

Barefoot Blogging: Brownie Pudding


Once again, I must sing praises for my friend Tia at Southern, Eh? for choosing Ina Garten's Brownie Pudding for one of this month's Barefoot Blogging recipies.

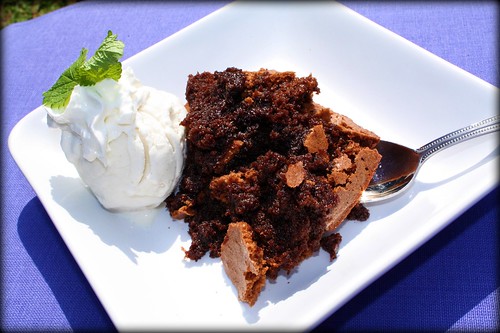
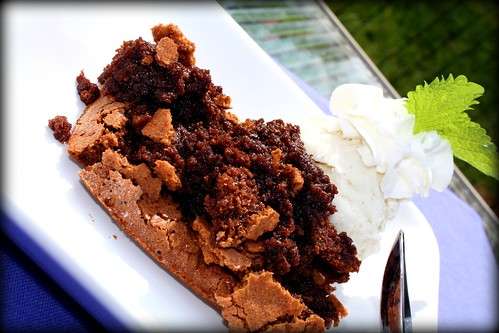
Well I tried a bit of it and I think the heavens opened and the angels sang. This pudding is crispy on top and the edges like a brownie, and the inside is gooey like a molten lava cake. Well HELLO lover, this is such an easy recipe to make and so delicious. I need you to make it for the next event you have.

It serves quite a few people, or one with a lonely heart. I can see myself curling up with the entire dish of this and the 6 Hour BBC version of Pride and Prejudice.

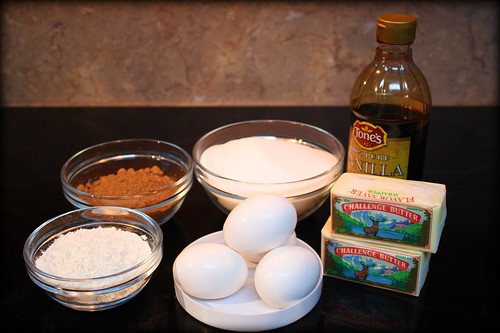
Ingredients

  • 1/2 pound (2 sticks) unsalted butter, plus extra for buttering the dish
  • 4 extra-large eggs, at room temperature
  • 2 cups sugar
  • 3/4 cup good cocoa powder
  • 1/2 cup all-purpose flour
  • Seeds scraped from 1 vanilla bean
  • 1 tablespoon framboise liqueur, optional
  • Vanilla ice cream, for serving


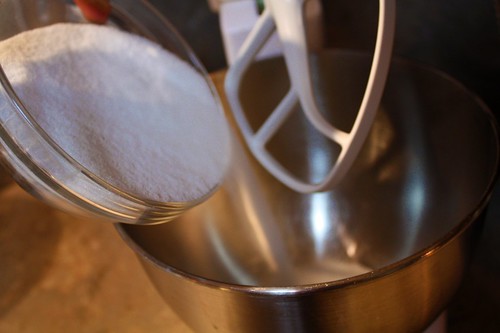
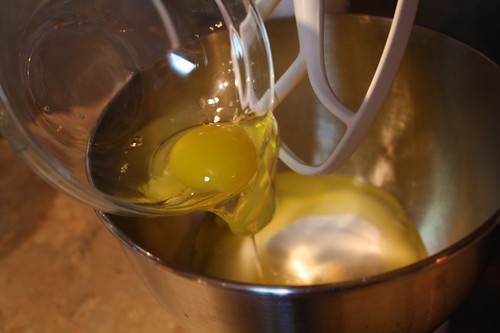
Add your 2 cups of sugar and 4 eggs into your mixer


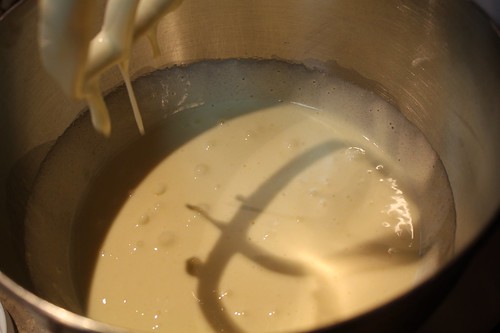
Mix these on a medium speed for 5-7 minutes until pale yellow and thick, like this.


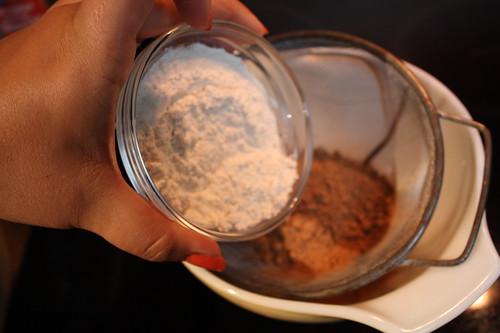
While that's mixing, take your Flour and Cocoa and sift together.


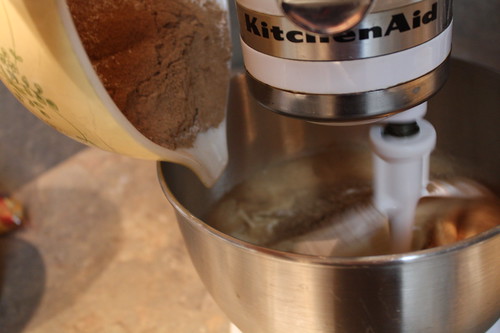
Add the sifted mixture to the Egg/Sugar combination.


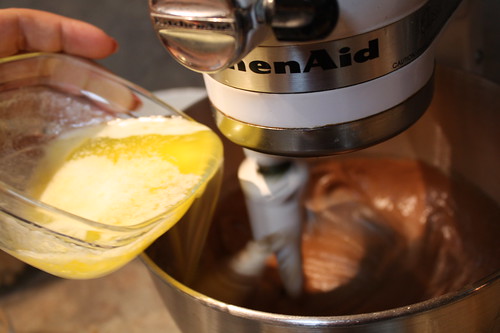
Mix until just combined and add in your 2 sticks of Melted Butter....mmmmm butter.


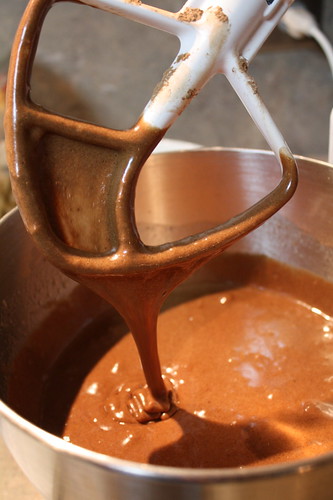
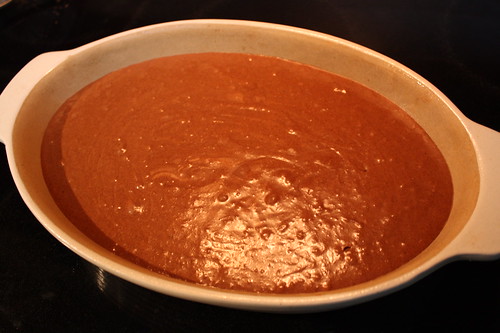
And mix again until just combined. It should be a yummy looking batter like this. Without a doubt, I WILL be licking the beaters. Don't watch!


Pour this sinful chocolate mixture into a greased or buttered (I used Baker's Joy) round 9x13x2 pan. Bake this at 325 degrees for 1 hour.


Serve this with vanilla bean ice cream and a dollop of whipped cream if you're being fancy. Please take a moment to grab a napkin because you're about to start drooling....


If you'd like a printable copy of this recipe please click here. I'm off to go jog 4 miles to burn off all of this butter and sugar! :)